From upload to first traced line, in about a minute.
Six steps. No download required. Works on any modern browser.
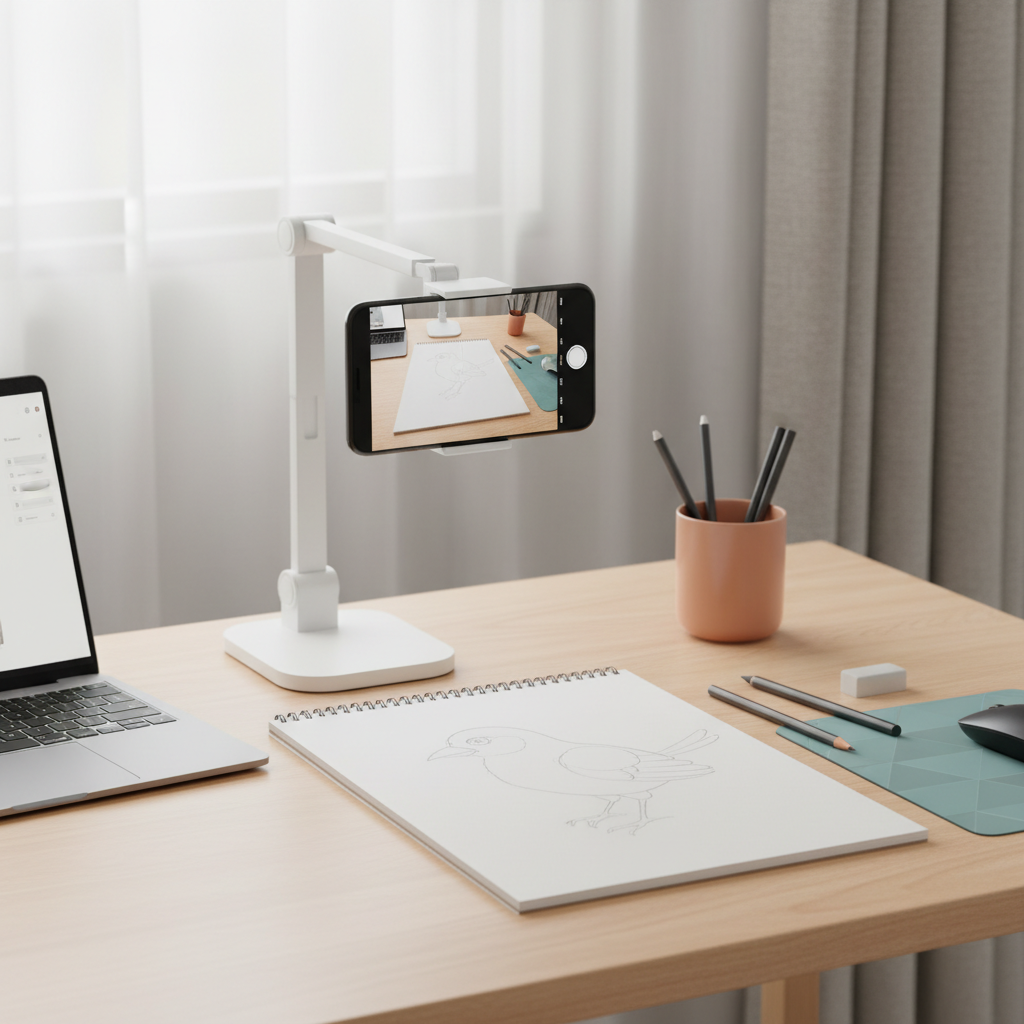
You need a camera
Open the editor.
Go to Desktop Tracer and click Start tracing. The first time, your browser will ask for camera permission. Allow it.
No download or install required

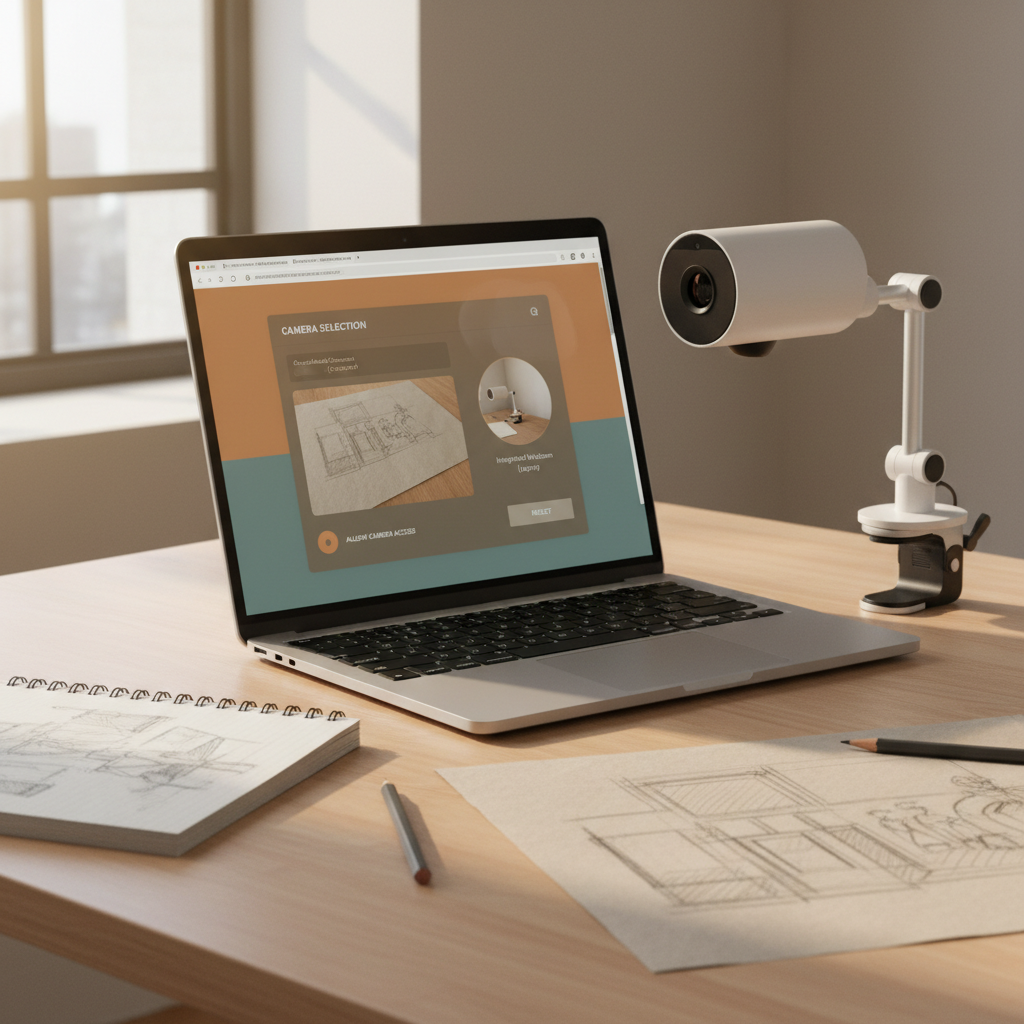
Pick a camera.
The editor shows everything connected — your laptop webcam, external webcam, or paired phone. Pick the one pointed at your work surface.
Webcam, phone, or document camera
Upload your reference.
Drag a JPG, PNG, or WebP into the upload area. Or pick one from your reference library if you have it saved. Your image never leaves your machine.
JPG, PNG, or WebP — any size
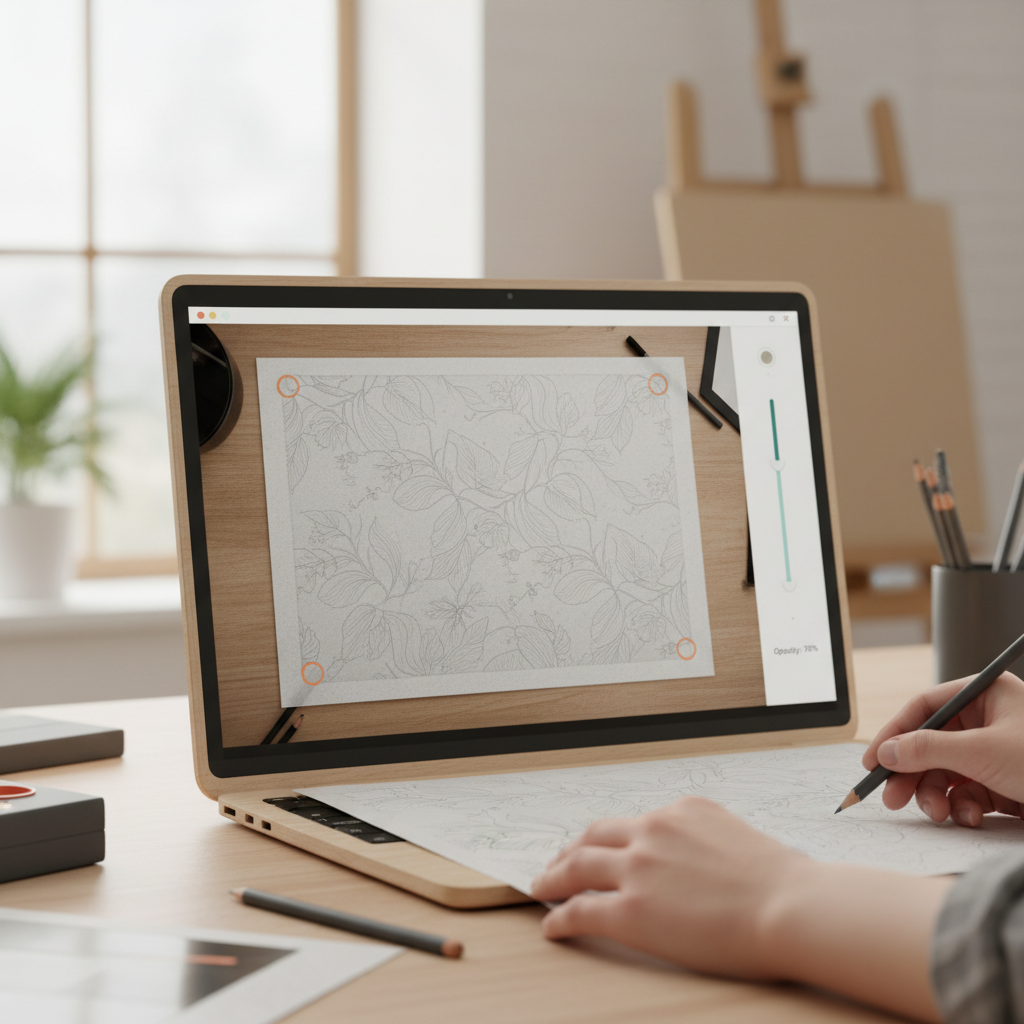
Position the overlay.
Drag the reference image to where you want it on screen. Scale, rotate, or flip it. Set the opacity — 30–50% is a comfortable starting point.
Perspective correction for angled setups
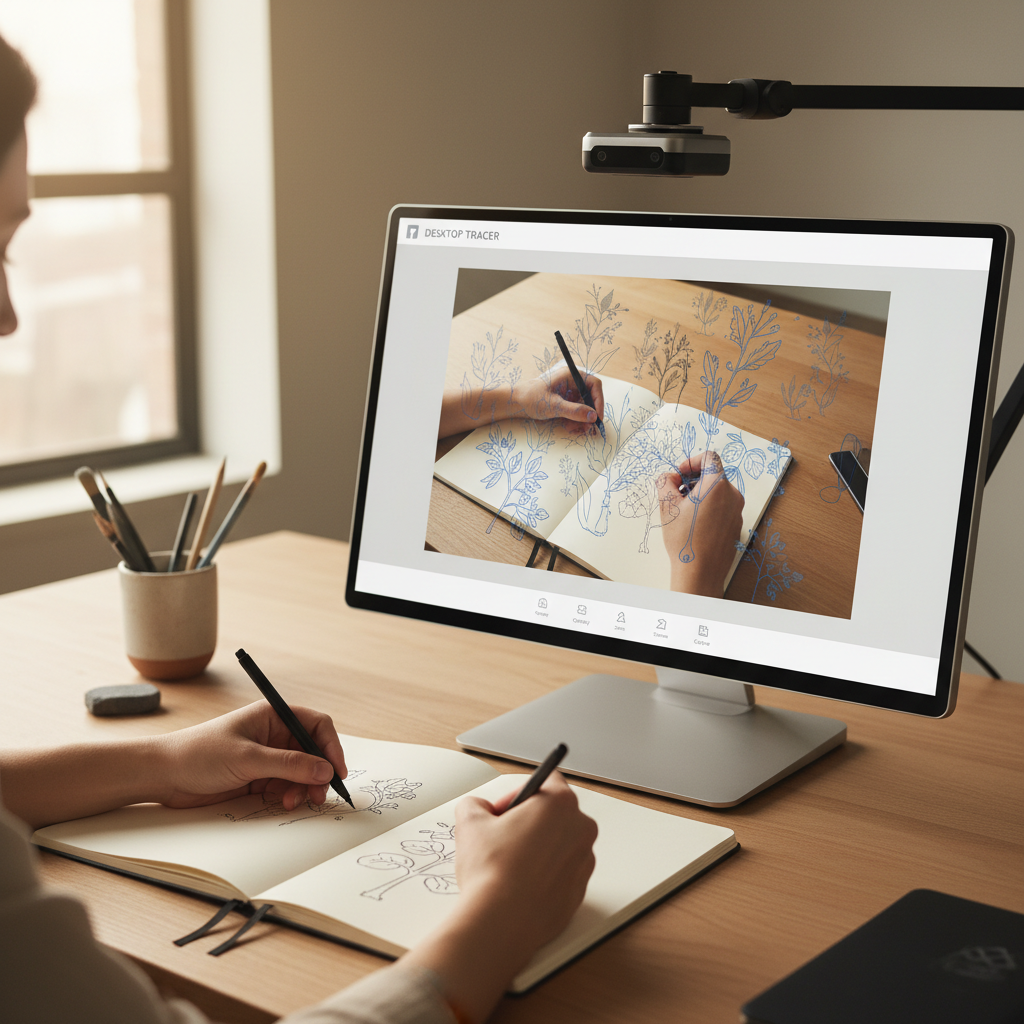
Trace.
Look at your screen, mark on your physical surface. Build out your guide lines, then move the overlay or change opacity as you go.
Keyboard shortcuts make it fast
Save the project (optional).
If you want to come back to this exact setup tomorrow, hit save. The reference, camera, and overlay settings all persist.
Pick up right where you left off
Setup tips that save you time
Get the camera height right
Aim for your full work surface in frame with a couple of inches of buffer. Too close and you'll lose context; too far and the overlay loses detail.
Light from above, not behind
Avoid backlighting your work — your camera will struggle. Soft overhead light works best.
Stabilize the camera
A tripod, gooseneck phone mount, or even a stack of books works. Any wobble shows up in your overlay.
Lower the opacity than you think
A faint overlay — around 30% — keeps your reference visible without dominating your view. You can always bump it up for detail work.